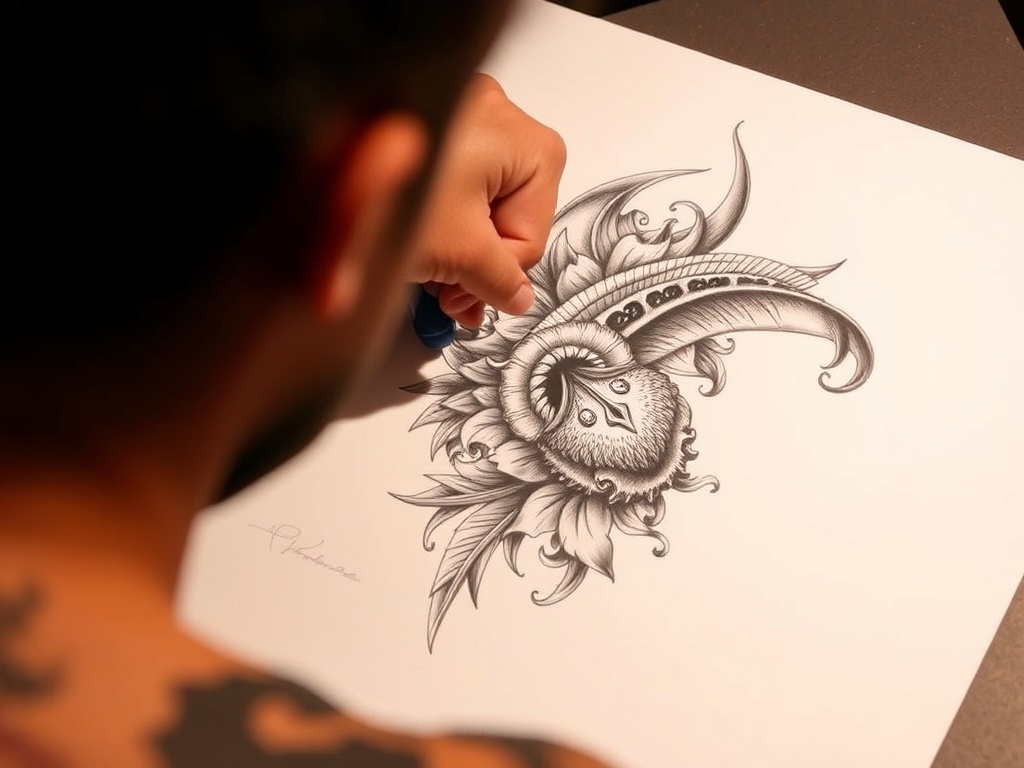
Top 10 Drawing Exercises for Aspiring Tattoo Artists
Whether you’re just starting your journey as a tattoo artist or looking to refine your skills, consistent drawing practice is vital. Tattooing is an art form that demands precision, creativity, and adaptability. The right drawing exercises for tattoo artists not only build technical ability but also instill the confidence you need for real-world tattoo projects. In this guide, you’ll discover 10 expert-backed drawing drills, practical examples, and actionable takeaways designed specifically for aspiring tattoo professionals.
Why Drawing Exercises Matter for Tattoo Artists
Before diving into the exercises, it’s important to understand why focused practice is essential. Unlike traditional illustration, tattoo art must adapt to the unique contours and movement of the human body. Mastering line work, shading, and composition prepares you for the challenges of working on skin. These exercises will help you:
- Develop a steady hand for consistent line work.
- Train your eye for proportion and symmetry.
- Expand your creative repertoire.
- Build muscle memory for smoother tattoo execution.
For a full overview of foundational tattooing skills, see our comprehensive guide to becoming a tattoo artist.
1. Line Drills: The Foundation of Tattoo Art
Goal: Mastering clean, consistent lines for outlines and detail work.
Start by filling pages with straight, curved, and zig-zag lines. Use different pressures and speeds. Try parallel lines, cross-hatching, and overlapping shapes. Practice with pencils, pens, and even tattoo machines on synthetic skin.
- Case Study: Renowned tattooist Mia S. credits her crisp line work to daily line drills, filling notebooks before ever touching a tattoo machine.
Takeaway: Spend 10-15 minutes a day on line drills to build hand control and confidence.
2. Shape Construction: Building Blocks of Design
Goal: Understand how to break complex subjects into simple geometric forms.
Draw everyday objects by first outlining basic shapes (circles, ovals, squares) and then building up detail. Focus on light source and dimensionality. This skill is crucial for creating flash sheets and custom designs.
- Example: Transform a rose into overlapping circles and triangles before refining the petals and shading.
Takeaway: Regularly reconstruct reference images from basic shapes to improve your design planning.
3. Freehand Drawing: Boosting Creativity and Flow
Goal: Increase spontaneity and confidence in your drawing process.
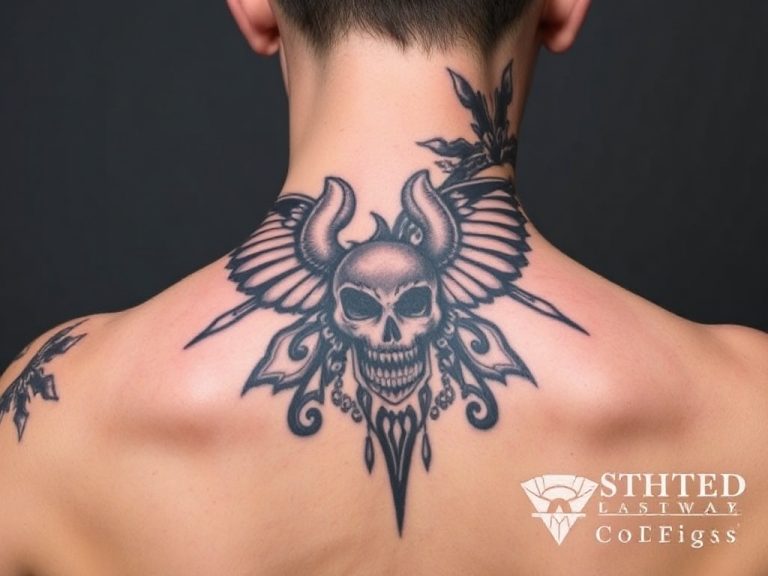
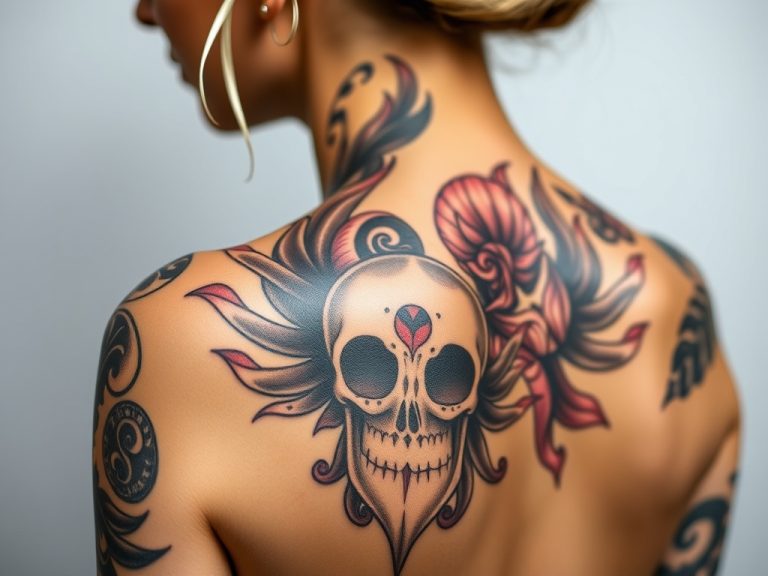
Set a timer for 5–10 minutes and draw from memory—no erasing or corrections. Choose subjects like skulls, daggers, or animals—common in tattoo art. This exercise enhances your artistic intuition and speed, vital for creating on-the-spot tattoo stencils.
Takeaway: Incorporate freehand drawing into your warm-up routine to boost artistic confidence.
4. Symmetry Practice: Essential for Tattoo Placement
Goal: Perfect symmetrical designs for tattoos on chests, backs, and limbs.
Fold your paper in half and draw one side of a design (like a mandala or butterfly). Then, mirror the drawing on the other half. Use digital tools or tracing paper for advanced practice.
- Case Study: Apprentice artist Jordan L. improved his mandala tattoos by practicing symmetry drills and overlaying his designs digitally to spot inconsistencies.
Takeaway: Regular symmetry drills help ensure your tattoos look balanced and professional on the body.
5. Shading and Gradient Drills: Creating Depth and Dimension
Goal: Master smooth gradients and believable shading for realism and contrast.
Fill sections with gradients using pencils, markers, or ink. Practice hatching, cross-hatching, stippling, and blending. Replicate reference photos, focusing on shadow transitions.
- Example: Take a photo of a 3D object (like a sphere) and replicate its shading using only black and gray tones.
Takeaway: Consistent shading drills translate directly to smoother, more dynamic tattoos, especially for black and gray work.
6. Texture Studies: Bringing Tattoos to Life
Goal: Accurately render hair, scales, fur, and other surfaces.
Choose one texture per session. Study and replicate it from high-resolution photos. Use different line techniques and note how tattoo needles interpret these marks on skin.
- Example: Practice drawing reptile scales for a realistic snake tattoo, experimenting with dotwork and line patterns.
Takeaway: Mastering textures adds realism, detail, and variety to your tattoo portfolio.
7. Anatomy Sketching: Understanding the Human Canvas
Goal: Learn human anatomy to design tattoos that flow with the body.
Draw hands, arms, torsos, and faces from different angles. Use anatomy books or figure drawing websites (like QuickPoses). Pay attention to muscle groups and how tattoos wrap around them.
- Case Study: After six months of daily figure drawing, apprentice Kayla M. found her tattoo placements and designs fit client bodies more naturally.
Takeaway: Weekly anatomy sessions prepare you for complex, body-fitting tattoo designs.
8. Tattoo Flash Sheet Creation: Simulating Real Tattoo Work
Goal: Build a portfolio of ready-to-ink designs and develop your unique style.
Design themed flash sheets (traditional, neo-traditional, Japanese, etc.). Limit your color palette and line weights for authenticity. Study classic tattoo flash from established artists for inspiration.
- Example: Create a set of traditional roses, daggers, and swallows—emphasizing bold lines and limited colors.
Takeaway: Flash sheets showcase your skills to potential clients and shop owners; make them a regular part of your tattoo art practice.
9. Tattoo Machine Simulation: Bridging Drawing and Tattooing
Goal: Practice drawing techniques with tools that mimic real tattooing.
Use a tattoo machine on practice skin or thick paper. Focus on linework, shading, and pressure control. Notice the difference between drawing with a pen and the weight and vibration of a machine.
- Case Study: Artist Lucas P. credits his smooth transition to skin work to hours spent „drawing“ designs on synthetic skin.
Takeaway: Simulated machine practice bridges the gap between art and tattoo execution, preparing you for real clients.
10. Critique and Redraw: Learning from Your Mistakes
Goal: Improve through self-reflection and iterative practice.
Review your previous drawings weekly. Identify areas for improvement: anatomy, symmetry, line quality, or shading. Redraw the same design, applying lessons learned. Solicit feedback from mentors or online communities (see our guide to top tattoo artist communities).
- Example: Redrawing a tiger head design after critiquing your first attempt may reveal improved fur texture and balanced proportions.
Takeaway: Regular critique ensures steady progress and a stronger, more professional portfolio.
Actionable Routine: How to Structure Your Tattoo Art Practice
To get the most out of these exercises, structure your weekly practice:
- Daily: 10 minutes of line drills, 10 minutes of shape construction, 10 minutes of freehand drawing.
- Weekly: One hour each on symmetry, shading, textures, and anatomy studies.
- Monthly: Create at least two new flash sheets and simulate machine drawing sessions.
- Ongoing: Critique and redraw past works, seeking feedback from mentors.
Consistency is key—track your progress and update your portfolio regularly. For more tips on building a tattoo career, check out our step-by-step portfolio guide.
Conclusion: Your Path to Tattoo Art Mastery
Mastering tattoo art takes more than creativity—it demands disciplined practice, self-reflection, and a willingness to learn from every drawing. By integrating these drawing exercises for tattoo artists into your daily routine, you’ll build the skills, confidence, and portfolio needed for a successful tattoo career.
Ready for the next step? Explore our complete guide to becoming a tattoo artist for more expert resources and insider advice.