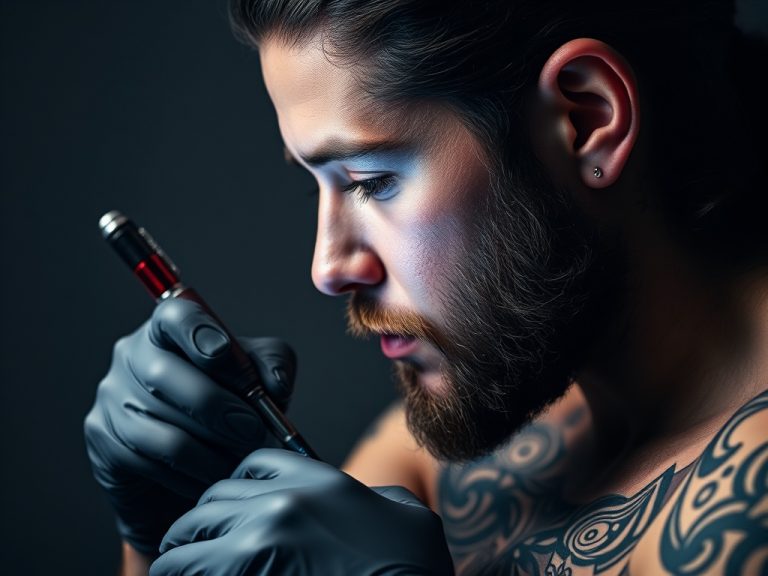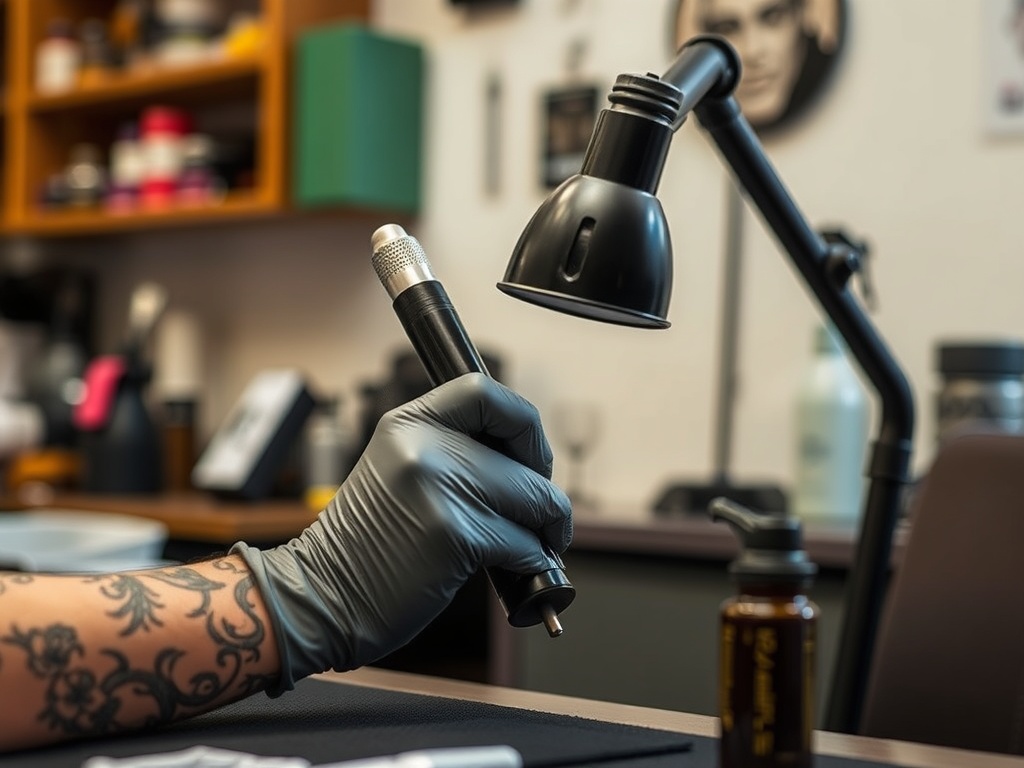
Ensuring a hygienic tattoo workspace is non-negotiable for every professional tattoo artist. Not only does it protect your clients and yourself from infections and cross-contamination, but it also establishes your studio’s reputation as a safe and reliable environment. This comprehensive guide breaks down each step, offers practical tips, and shares real-world examples to help you set up and maintain a sterile tattoo environment.
Table of Contents
- The Importance of Tattoo Hygiene
- Pre-Setup: Workspace Preparation
- Sterilizing and Organizing Equipment
- Personal Protective Equipment (PPE) Protocols
- Client Preparation and Communication
- Maintaining Hygiene During Tattooing
- Post-Session Cleanup and Waste Disposal
- Real-World Examples & Case Studies
- Common Mistakes to Avoid
- Actionable Takeaways
- Frequently Asked Questions
- Further Resources
1. The Importance of Tattoo Hygiene
Before diving into the checklist, it’s crucial to understand why tattoo hygiene is so important. Improper hygiene can lead to infections, allergic reactions, and even the transmission of bloodborne pathogens such as hepatitis and HIV. Regulatory bodies and professional organizations, like the OSHA Bloodborne Pathogens Standard, provide guidelines that every tattoo artist should follow.
- Client trust: A spotless, organized studio is immediately reassuring to clients.
- Legal compliance: Many localities require adherence to strict health codes; non-compliance can result in fines or closure.
- Professional reputation: Word-of-mouth and online reviews often hinge on visible cleanliness and safety.
For an overview of industry standards, see our Tattoo Studio Health Regulations Guide.
2. Pre-Setup: Workspace Preparation
Step 1: Choose the Right Location
- Ensure the area is well-lit and well-ventilated.
- Separate tattooing and non-tattooing zones to minimize contamination risk.
Step 2: Clean Surfaces Thoroughly
- Use disinfectant wipes or sprays approved for medical environments.
- Pay special attention to high-touch areas: chairs, armrests, tables, sinks, and light switches.
Step 3: Set Up Barriers
- Cover surfaces with disposable plastic wrap or dental bibs.
- Replace barriers between every client.
Checklist Example
| Task | Frequency |
|---|---|
| Sanitize work surfaces | Before each session |
| Replace disposable barriers | Per client |
| Check ventilation system | Daily |
3. Sterilizing and Organizing Equipment
Step 1: Use Single-Use or Autoclaved Tools
- Whenever possible, use single-use needles and tubes.
- Reusable instruments must be cleaned in an ultrasonic cleaner, then sterilized in an autoclave.
Step 2: Organize Supplies
- Keep inks, ointments, and disposable items in closed, labeled containers.
- Store sterile items away from non-sterile items.
Step 3: Maintain Sterilization Logs
- Document each sterilization cycle, including date, time, and items processed.
- Use biological indicators to ensure autoclave effectiveness.
For more on proper sterilization, see our Tattoo Autoclave Sterilization Best Practices.
4. Personal Protective Equipment (PPE) Protocols
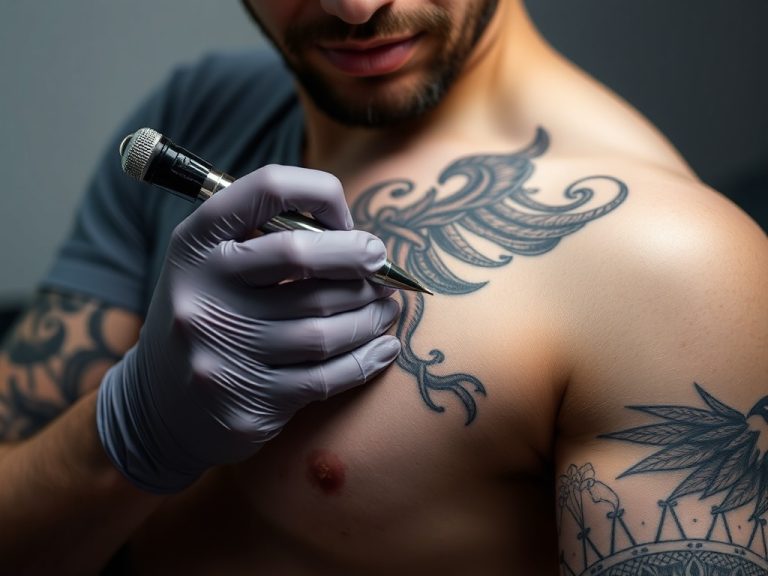
- Gloves: Always wear new, medical-grade gloves during setup, tattooing, and cleanup.
- Masks and Eye Protection: Use when risks of splatter or airborne particles are present.
- Protective Clothing: Wear disposable aprons or gowns to prevent contamination of personal clothing.
5. Client Preparation and Communication
- Have clients wash hands and sanitize before the session.
- Explain your hygiene protocols to reassure clients and answer their questions.
- Provide aftercare instructions that emphasize hygiene and infection prevention.
6. Maintaining Hygiene During Tattooing
- Change gloves whenever touching non-sterile surfaces.
- Dispose of needles and sharps immediately after use in a puncture-resistant container.
- Use single-use ink caps and dispose of them after each client.
- Minimize clutter on the work surface to reduce contamination risk.
7. Post-Session Cleanup and Waste Disposal
- Remove all disposable covers and barriers.
- Disinfect all work surfaces and equipment.
- Dispose of waste according to local biohazard regulations.
- Launder reusable linens with hot water and appropriate disinfectant.
8. Real-World Examples & Case Studies
Case Study 1: Small Studio Success
Ink & Iron Tattoo, a two-artist studio, implemented a strict hourly cleaning schedule and documented every sterilization cycle. They reported zero infection incidents in five years and gained a reputation for their spotless workspace, resulting in a 30% increase in client referrals.
Case Study 2: Overcoming a Hygiene Incident
A busy urban studio once faced an inspection after a client complaint. By providing complete sterilization records and demonstrating their step-by-step cleaning protocols, they passed with flying colors and even updated their client welcome packet to include their hygiene checklist, building trust post-incident.
9. Common Mistakes to Avoid
- Reusing disposable items „just once more“ to save costs.
- Neglecting hidden surfaces like light switches and spray bottles.
- Failing to change gloves after touching non-sterile objects.
- Improper waste disposal risking regulatory fines.
10. Actionable Takeaways
- Establish a daily and per-client cleaning schedule—post it visibly in your studio.
- Invest in high-quality barriers and single-use supplies; never compromise on safety.
- Keep up-to-date sterilization logs and review them weekly.
- Regularly train staff on updated hygiene best practices.
- Communicate your protocols transparently to clients for peace of mind.
11. Frequently Asked Questions
- How often should I sterilize my tattoo equipment?
- All reusable tools must be cleaned and autoclaved after every use. Maintain daily sterilization logs.
- What cleaning products are safe for tattoo workspaces?
- Use EPA-registered hospital-grade disinfectants and avoid products with harsh fumes in poorly ventilated areas.
- How do I properly dispose of sharps?
- Always use puncture-proof sharps containers and follow local regulations for biohazard disposal.
12. Further Resources
- Tattoo Needle Safety: A Complete Guide
- Essential Tattoo Aftercare Instructions
- CDC Infection Control Guidelines
Maintaining a sterile tattoo environment is a continuous process, not a one-time effort. By following this checklist, you’ll ensure the safety of your clients, staff, and your reputation as a top-tier tattoo artist.
For more tips and best practices, explore our Tattoo Hygiene Best Practices guide.